As an Amazon Associate, I earn from qualifying purchases.
To illustrate how to pack a hiking backpack diagram, each backpacker must layer their gear from the bottom to the top for suitable and easily accessible before and during the hike. Moreover, the diagram illustration reorganizes the items in order to provide a visual representation of the properly and improperly organized items for visualization purposes.
As the hiking journey starts, the first consideration is the physical preparedness of the backpacker to endure portable mental preparation. A key factor to emphasize is not only how but where an item should be in the pack for flexibility. A diagram will provide sections were different items will be for the partnership of the hiker and the backpacker on who supports who in the trek.
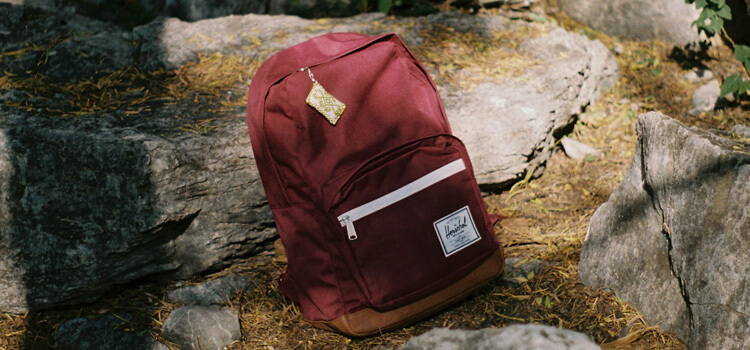
Choosing The Right Backpack
Preparing for a hike starts with the choice of the apt kind of backpack, and with the right choice, success is assured for the trip. The ultimate guide above will simplify the selection of the best backpack and help you select.
Consideration For Backpack Size
Size matters for every adventure. A small day pack works for short trips. Multi-day hikes need larger packs. It is also dependent on the season, so winter gear requires more space compared to winter needs. Pick what can fit the gear and length of the trip. Consider how the weight will fit to maximize balance. Here is how to roughly estimate the packs to pack size:
| Activity | Backpack Size (Liters) |
| Day Hike | 10-30 |
| Overnight | 30-50 |
| Multi-Day Trek | 50-70+ |
| Extended Expedition | 70+ |
Importance Of Proper Fit
Comfort should not be compromised during the hike. A poorly fitting backpack increases the strain from carrying a load. To avoid this, pay attention to the following:
- A torso length that fits: Look for a pack with a length similar to the torso. However, not all packs fit all bodies;
- A hip belt that feels good: most of the load should rest on your hips. So, the belt should be firm and tight but comfortable;
- Should Strap: the straps should attach comfortably to the shoulder tip. All the ribs should not come off the shoulder;
- A chest strap: To help keep the load stable and distribute weight equally. The chest strap must also be adjustable;
A sizing chart is provided to help you get the correct backpack. Refer to a store for a fitting, possibly with weight on. Try out several packs before picking out the one backpack to use.
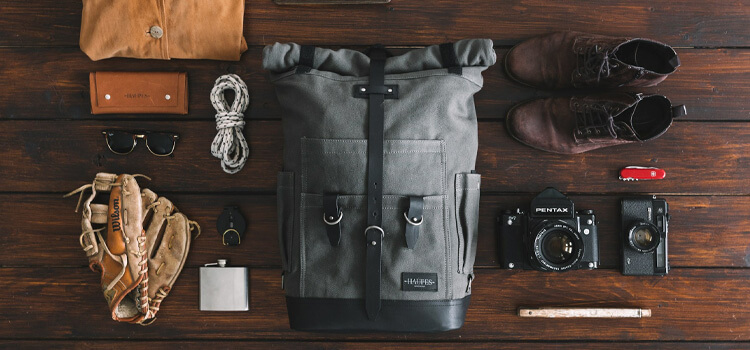
Organizing Your Gear
Besides orientation and ten essentials, the backpack arrangement on a hiking tour is also elementary. It determines your comfort and the ease of getting to your stuff. Therefore, the following section explains the art of packing your bag efficiently.
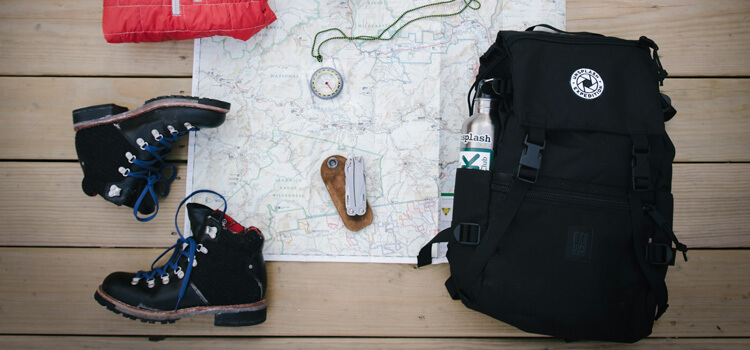
Essential Items To Pack
Here is a list of your companions for the hiking tour:
- Navigation aid: map and compass;
- Hydration: water bottles or a hydration system;
- Nutrition: snacks and full meals;
- Protection: sunscreen, hat, and sunglass;
- Insulation: extra layers for warmth;
- Illumination: headlamp or flashlight and extra batteries;
- First-aid: basic kit;
- Emergency shelter: tent or bivy;
- Fire: matches, lighter, and fire starters;
- Repair kit: tools, zipper accessorie, and duct tape;
Placement Of Heavier Items At The Bottom
Keeping weight low and close to your spine maintains your balance and prevents excess strain. That way, your center of gravity makes it perfect for hiking. In order to stack your gear, do the following:
| Layer | Items |
| Bottom | Sleeping bag, pad, any other bulky items. |
| Core | Tent body, food stash, cooking gear. |
| Top | Clothing, first-aid kit, and other light items. |
| Accessory Pockets | Snacks, map, compass, sunglasses, sunscreen. |
| Tool Loops and Lash-On Points | Trekking poles, ice axe, and bulky gear. |
Ensure the pack feels balanced on you. In the pack, the heaviest items should snug up your lower back and feel secured, not pull you back. For stability on the trail, the bag must tightly your body movement. Whatever way you sway, upwards or downwards, the pack should not counteract it.
Utilizing The Main Compartments
Utilizing The Main Compartments. It takes skill to pack a hiking backpack. A good understanding of weight distribution is essential. The most critical part of it is the main compartments. Keep in mind that proper use ensures everything fits and is accessible. Categorize everything you need to put in the necessary areas. This will enable your pack to remain tidy and you to have a good time during the hike. Let’s now discuss how to use these areas efficiently.
Accessories Compartment
The accessories compartment is the area at the top, often. Pack what you need in reach while on the trail here. I will explain this below:
- The map with navigation devices;
- For sun protection: sunscreen, sunglasses;
- Light food for snacks, Sanitizer and toilet paper;
- Light – headlamp/flashlight with extra batteries;
Clothing Compartment
The clothing section will often cover a large space. It should hold bulkier items. Roll and fold the clothes to save space. You may put heavier items near your body, for better balance.
| Layer | Type of Clothing |
| Base Layer | Moisture-wicking shirts, underwear |
| Insulation Layer | Fleece jackets, lightweight puffy jackets |
| Outer Layer | Waterproof jackets, pants |
| Extra Items | Hats, gloves, extra socks |
Securing Equipment On Exterior
Stabilizing your gear boosts you in first, it makes your gear accessible. Second, it helps in stabilizing the gear’s load. Securely attach your gear.
Attaching Sleeping Gear
Ensure your sleeping bag is loosely attached to the backpack. Do The Following:
- Find the straps in the bottom portion of your backpack;
- Use it to secure the contents in a water bag;
- Loosen the straps after looping them through the sack;
- This way, you will free enough space for the rest of your contents;
Fastening Trekking Poles
You must be able to access your trekking poles easily. Here’s how to fasten them:
- Slide your pole’s handle first into the loops associated with side straps;
- Use the top strap to fasten pads;
- This easily releases when accessing them and vice versa;
Balancing The Weight Distribution
Maintaining a balanced weight distribution is essential to ensure comfort and ease of movement. Proper redistribution of the pack’s weight lowers the pressure on your body . Thus, you can stay on the trail longer without becoming exhausted. To give the reader an understanding of the best ways to distribute a backpack’s weight.
Evenly Distributing The Load
Considering this point will help ensure that the pressure is evenly distributed on your shoulders and hips. This way, the weight is focused while maintaining your stability. The densest items should be aligned evenly along the spinal column from the shoulder blades to the middle of your waist.
- Heavy gear should be placed near your spine;
- Items of medium weight should be placed on the top/middle;
- Lightweight items should fill up the remaining spaces;
Adjusting Straps For Comfort
Proper adjustment of the backpack’s straps will maintain a close fit . Therefore, your backpack should not stray from your body but move with it. Considering that the reader has information on how to adjust the backpack’s straps, I shall begin with the following:
- Ensure the hip belt is secure, and the pad is centrally positioned in the hips;
- Loosen all the shoulder straps before placing it on your back conclusively;
- The shoulder straps should be tightened to the most comfortable level;
- The sternum strap is adjusted for extra support;
- The load adjuster straps should be used to make the pack sit closer to your body;
Adding Final Touches
As you finalize your preparation to hit the trail, making sure that everything is in place is vital. This point ensures that everything is compressed, fastened, and easily accessible. Smooth out any last-minute discomfort before your adventure starts running. For an easily accessible hiking pack.
Securing Loose Straps
Hanging straps could get caught on the branches and cause an accident. To secure them, do as follows:
- Roll in the excess lengths;
- Use rubber bands or Velcro to ensure the rolled straps are kept tight;
- Thread them via backpack loops, if possible;
Checking Accessibility Of Essentials
Certain items need to be quickly accessed while on the trail. Here are a few access requirements:
| Essentials | Accessibility |
| Water Bottle | Side Pockets |
| Map & Compass | Top Compartment |
| Snacks | Hip Belt Pockets |
| Rain Cover | Outer Pouch |
Tips For Adjusting On The Trail
On the trail, your well-packed backpack can be your best friend, making your journey comfortable and less tiring. It is also essential to know how to adjust your backpack on the move so that you do not need to stop and repack.
Regularly Reassessing Comfort
The comfort on the trail is changing just like the terrain. Let the backpack not be a burden to you. Are your shoulders getting sore? Loosen the straps! Is the hip belt digging in? Give it a slight adjust!
- Rethink the fit after every one and a half hours;
- Shift the weight to shoulders and back from hips as necessary;
- Keep your backpack balanced using the load adjusters;
Maintaining Accessibility To Water And Snacks
Your hydration and energy are essential; your water bottle and snacks should be accessible to you while on the move. Keep your water bottle and snack accessible as below:
- Place the water in side pockets or use your hydration system;
- Refuel snacks in the hip belt or in the side pockets;
- Replenish your water and snack of essential at a quick stop;
When hiking adjust for comfort make preparation for water and snacks replenishment without full stop. Continue moving and having more fun in the outdoor landscape!
Conclusion
As a summarized note, any outdoor lover must master the action of packing their hiking backpacks. With a suitable diagram, you can correctly secure each mechanism for any excursion. Remember always to prioritize balance – always load weight evenly, optimize a feature for the user, and ensure you do not proceed with overload. Walk down an accurate path with confidence, realizing that you have found success on your journey. Enjoy!
Related Articles:
- How to Wash a Vera Bradley Backpack
- Best Hiking Backpacks for Petite Female
- Best Budget Trekking Poles
FAQs
Pack your hiking backpack according to the heaviest items aligned with your spine and low . Medium-weight items should then be placed throughout, with lighter gear on the top, and easily accessible items such as water at close reach. Balance is the key to ensure a comfortable on-trail experience.
Pack a backpack starting with the heavy items placed near your spine for optimal balance – the medium-weight items should then spread throughout while the nooks are filled with lightweight ones. Strap compression related to stabilizing items and tackle access prioritization is also vital.
For better ability to manage the backpack weight, focus heavy items on your back and deliberately positioned between your shoulder blades . Lighter elements should top and accommodate the outer section or allow optimal balance of both shoulder workplace during a hike.
A high backpack position with appropriate strap settings is required. The hip belt should pin on your hips, and the chest strap on the front should panel at your sternum level – they should best distribute your capacity.
As an Amazon Associate, I earn from qualifying purchases.
Leave a Reply